
I was inspired earlier today when remembering a video I watched by Joe, where he recalls back to the good old days in 2009, where typewriter blogging seemed to be at it’s height. He explains how back then, many people used crayons to create a colored print, and then scanned them and blogged.
Here is how to create colored print with a crayon: First create a thick, waxy coating of a certain color with a crayon on a paper. Then, flip the paper over, and put a paper behind that. The typist would type behind the waxy coating of crayon in a forceful fashion onto the paper behind it.
I was inspired by this idea, so I tried it for myself- but then I thought, why not even get more creative? I drew out a couple of shapes- a star, a heart, and a triangle- on a piece of paper, then filled them in. I used one of my most dense machines- the Olympia SM9, to help. Here are the results:
Orange star:
Hmm, that didn’t seem to totally work out. Maybe I need to use a darker color? How about a dark red?
Red heart:

That’s a little better. The red seemed to show up a lot better, but I think I need to go even darker. How about a deep blue?
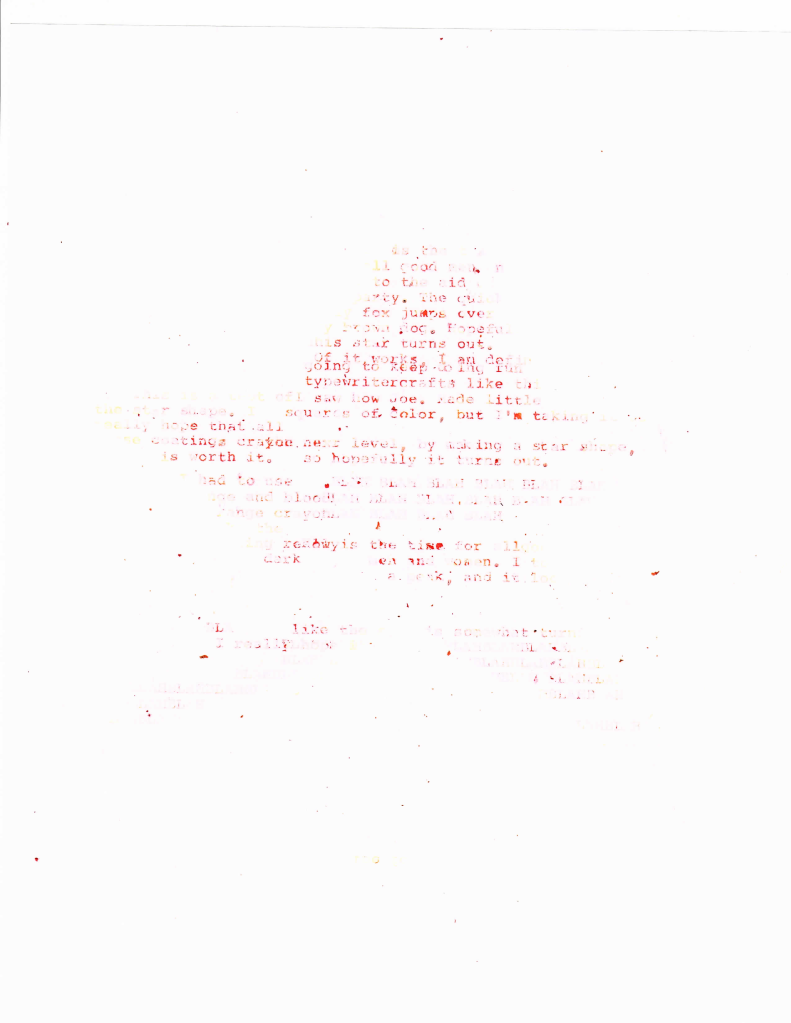
Blue triangle:

There it is. It may have helped that the particular crayon I used was very dense, as I only needed to use on coat, but blue still seems to be the most vibrant and lasting color. You can even make out some of what I typed.
This was a fun experiment, and I would recommend all you other typewriter aficionados try it out as well. If you want, you can even try and post a scanned copy of your work in the comments for all of us to enjoy. Again, all you do is fill in a space on a piece of paper with multiple coats of a dark crayon (make sure there are no white spaces), flip the paper so that the colored shape is facing the other direction, place a blank piece of paper against the colored shape, flip the papers around again, then feed it into the typewriter and start typing.

This is great! I will send this idea onto an art teacher friend who wants to use typewriters in the art room.
LikeLike
I’ve never tried this. Looks pretty good! I like the way the heart fades at the edges.
LikeLike
Bravo!
LikeLike